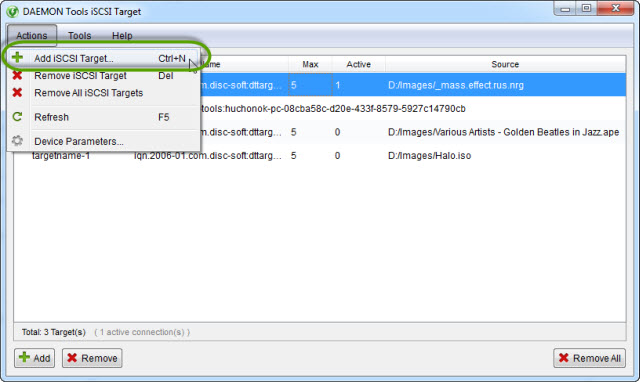
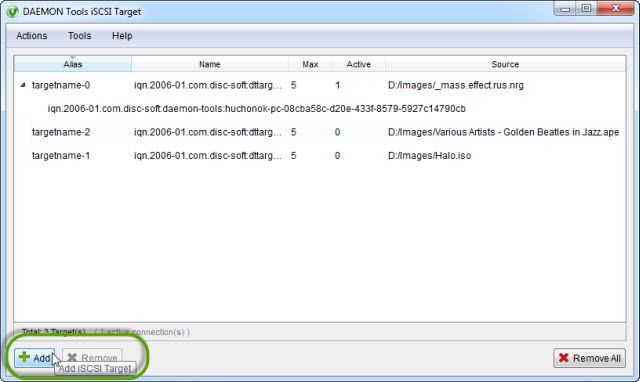
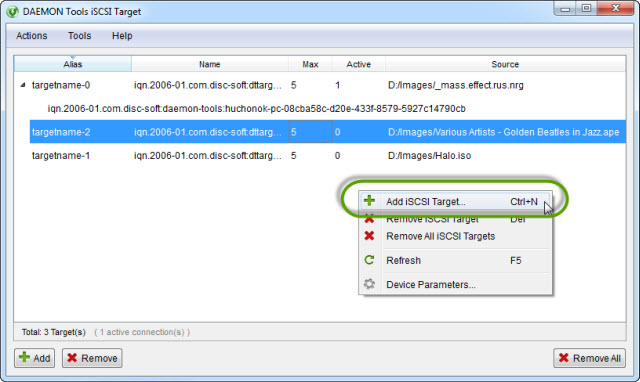
To begin sharing some device or image, you need to add an iSCSI target using special wizard. You can invoke Add target wizard in different ways:
-
Go to the Actions menu and choose Add iSCSI Target option.
-
Click Add button.
-
Go to the contextual menu of Targets' panel and choose Add iSCSI Target option.
-
Press Ctrl+N hotkey.
To add a target, you need to perform several steps:
-
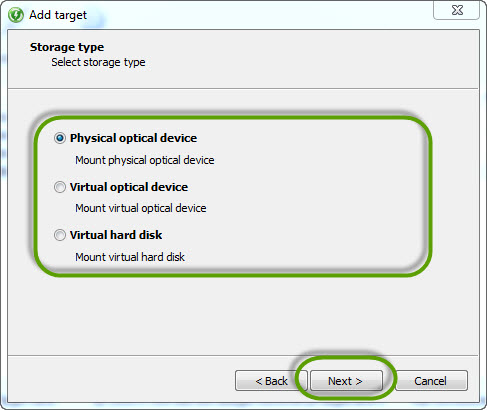
Choose the storage type of the target. The target can be represented by virtual drive or virtual hard disk in all versions of the program, while in DAEMON Tools iSCSI Target for Windows you can also use the physical optical drive as a target. Click Next button.
-
Set common target parameters and click Next button.
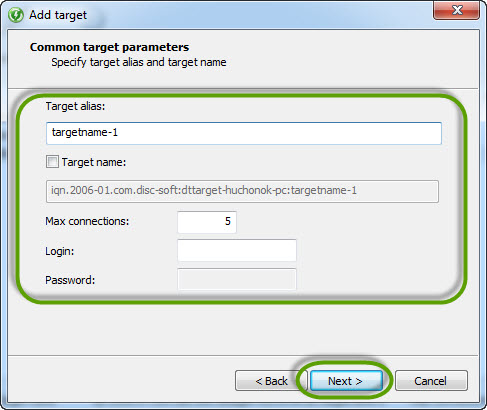
- Target alias option sets the name of the target.
- Target name option sets the full name of the target.
- Max connections option sets the maximal number of users that will be able to connect to this target. This option is unavailable for physical drives and VHD.
- Login and password options allow you to restrict access to the target.
-
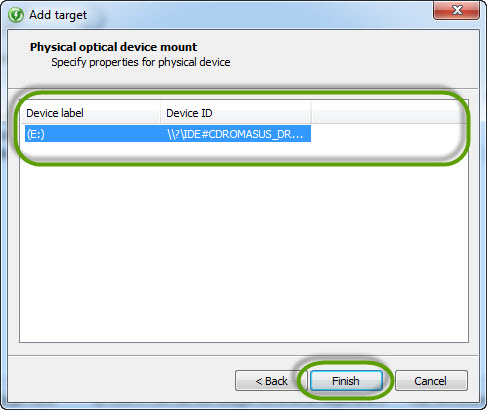
Specify the properties of the device. This step depends on the type of the device you have chosen on the Step 1.
- If you selected the Physical optical device as a target, you need to choose the drive from the list and click Finish button.
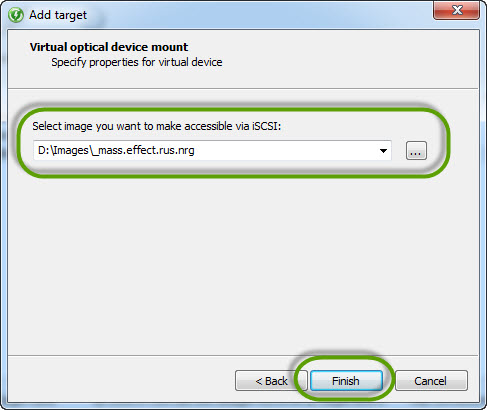
- If you selected the Virtual optical device as a target, you need to choose the image to mount and click Finish button.
- If you selected the Virtual hard disk as a target, you can choose it from your computer or create here and then click Finish button. To create VHD perform the following steps:
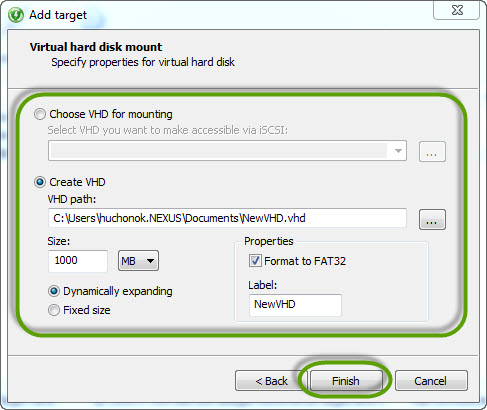
- Choose the path and the name of your future VHD.
- Set the size of the image. Choose MB or GB from the drop-down list.
- Choose the sizing format of the VHD. The size of the dynamically expanding disc increases when data is saved to it, but doesn't decrease when data is removed from it. The fixed size virtual disk uses constant space of your physical disc.
- Also you can format VHD to FAT32 file system, if you check the relevant option. In this case you will need to specify the name of the label.
-
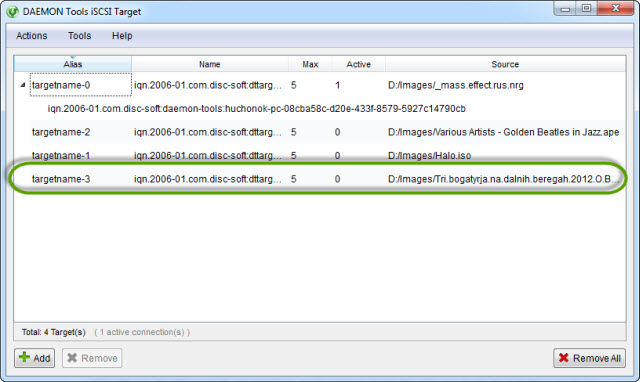
The target has been successfully created. Now your clients will be able to get access to it.
Note that you will need to enter the password, if the image or virtual hard disk you added as a target is protected.
Also you can watch how to add a target in our video guide.
Removing a target
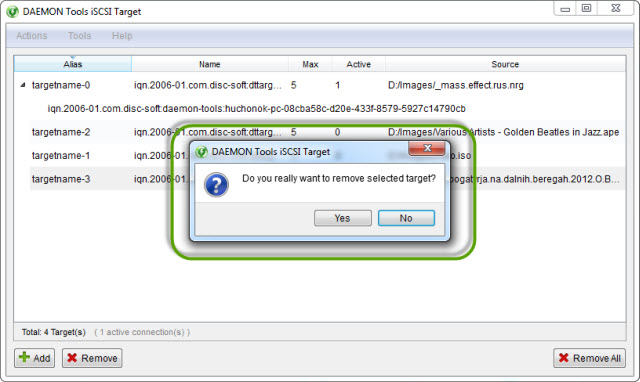
If you don't want to share some target anymore, you can delete it from the list. You can remove the selected target in different ways:
- Go to the Actions menu and choose Remove iSCSI Target option.
- Click Remove button.
- Go to the contextual menu of Targets' panel and choose Remove iSCSI Target option.
- Press Delete hotkey.
Note that you will need to confirm your decision in a special dialog.
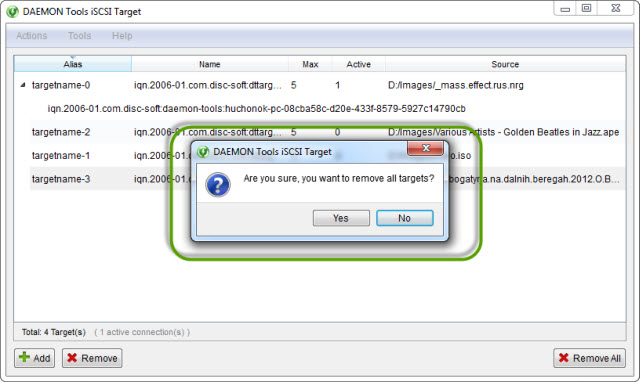
Removing all targets
Also you can delete all targets in the list. To remove all targets:
- Go to the Actions menu and choose Remove All iSCSI Targets option.
- Click Remove All button.
- Go to the contextual menu of Targets' panel and choose Remove All iSCSI Targets option.
Note that you will need to confirm your decision in a special dialog.